How to Anchor a Hammock on Rocky Terrain: 7 Safe, Step‑by‑Step Methods for Camping Without Trees
Introduction
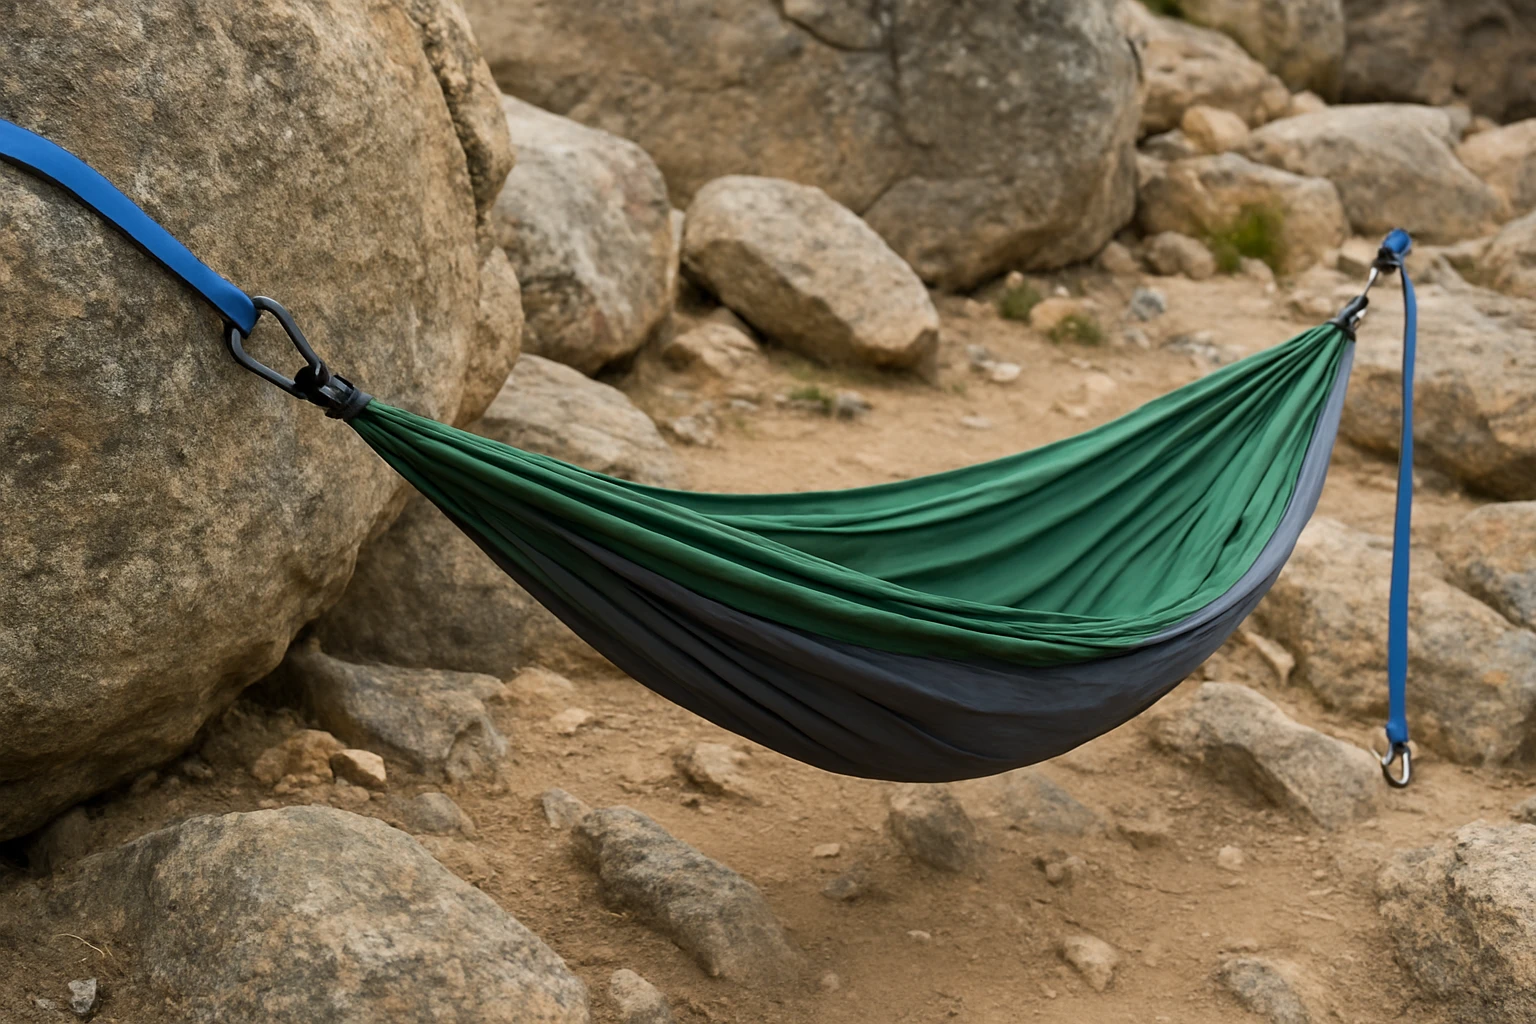
Camping in mountainous regions often presents the challenge of securing a hammock when trees are scarce or unsuitable. This guide explains seven reliable, tree‑free anchoring methods that enable one to enjoy a comfortable swing even on rugged rock formations. Readers will learn the necessary equipment, detailed installation procedures, safety considerations, and troubleshooting tips, ensuring a secure setup for any outdoor adventure.
Each method is presented with practical instructions and product recommendations that enhance stability and reduce setup time. By following the steps, one can transform a seemingly impossible location into a relaxing hammock haven.
What You’ll Need
- Heavy‑duty hammock straps or ropes capable of bearing at least 500 lb.
- Rock‑grade anchors such as stainless‑steel eye hooks or screw eye bolts.
- Drill with masonry bits (optional for permanent solutions).
- Carabiners, snap hooks, and mounting hardware.
- Measuring tape, level, and protective gloves.
- Recommended products: XIEKRAB Heavy Duty Hammock Hooks Kit and HXLPAY Heavy Duty Screw Eye Hooks.
Step 1 – Assess the Rock Surface and Choose Anchor Points
Begin by inspecting the rocky area for stable, load‑bearing sections. Look for protruding boulders, cliff edges, or drilled bolt holes that can support a minimum of 900 lb per anchor, matching the capacity of the XIEKRAB kit. Verify that the surface is free of cracks that could propagate under tension. Mark the chosen points with chalk to ensure consistent spacing for the hammock.
When the rock is smooth, consider creating a small recess using a masonry drill to accommodate a screw eye hook. This preparation distributes load evenly and prevents the hook from pulling out under dynamic forces.
Step 2 – Install XIEKRAB Heavy Duty Hammock Hooks
Secure the XIEKRAB Heavy Duty Hammock Hooks Kit to the pre‑selected rock points. Each M10 pad eye plate is designed with a 10 mm thickness that can sustain up to 900 lb per hook, providing a total system capacity of 3600 lb. Begin by drilling a pilot hole sized for the expansion tube included in the kit. Insert the plastic expansion tube, then fasten the pad eye plate with the supplied stainless‑steel screws, tightening until the plate sits flush against the rock.
The kit includes snap hooks that attach directly to the pad eye plates, allowing rapid connection of hammock straps. The stainless‑steel construction resists corrosion, making it ideal for humid or coastal environments.
Step 3 – Use HXLPAY Heavy Duty Screw Eye Hooks for Small Protrusions
For locations where a full pad eye plate is unnecessary, the HXLPAY Heavy Duty Screw Eye Hooks provide a compact alternative. Each M8 screw eye can hold up to 500 lb, suitable for lighter hammocks or as supplemental anchors. Twist the screw eye into a pre‑drilled 8 mm hole until the threaded portion is fully seated. The self‑tapping design eliminates the need for a separate nut, simplifying installation.
These screw eyes are particularly useful on wooden log supports or on rock surfaces where a shallow embedment is sufficient. Their low profile reduces the chance of snagging clothing or gear during entry and exit.
Step 4 – Attach Hammock Straps Using Snap Hooks
After the anchors are in place, connect the hammock straps to the snap hooks supplied with the XIEKRAB kit. Adjust the strap length so that the hammock hangs at a 30‑degree angle from horizontal, which maximizes comfort and reduces stress on the anchors. Use a tensioning knot such as a bowline to create a secure loop that will not slip under load.
For additional safety, double‑check that each snap hook clicks firmly into the pad eye plate and that the strap is free of twists. A properly tensioned system distributes weight evenly across both anchors, preventing premature wear.
Step 5 – Verify Load Distribution and Test the Setup
Before fully committing to the hammock, perform a gradual load test. Sit gently on the hammock while a partner observes the anchor points for any movement. Increase the weight incrementally until the full load is applied. Listen for creaking sounds that may indicate stress on the rock or hardware.
If any anchor shows signs of shifting, reinforce it with an additional snap hook or a secondary screw eye. Re‑testing after reinforcement ensures the system remains within the rated capacity of the hardware.
Step 6 – Add Redundancy with a Tension Rope Backup
For added security, rig a secondary tension rope between the two anchors using a climbing‑grade cord. Loop the rope through a carabiner attached to each anchor and tension it with a small hand‑winch. This backup line shares the load and provides a safety net should a primary hook fail.
The tension rope should be at least 10 mm in diameter and rated for a minimum of 1000 lb. Regularly inspect the rope for fraying, especially after exposure to sharp rock edges.
Step 7 – Pack Up Responsibly and Preserve the Environment
When the camping trip concludes, remove all hardware from the rock surface. Unscrew the pad eye plates and screw eye hooks, then fill the pilot holes with a suitable rock filler or leave them as they are if the site permits. Store the hardware in a dry pouch to prevent rust.
Leave no trace by ensuring that no bolts, screws, or strap fragments remain on the ground. Respecting the natural environment maintains the integrity of the site for future adventurers.
Tips & Pro Tips
- Always wear protective gloves when drilling into rock to avoid hand injuries.
- Use a spirit level to confirm that the hammock hangs evenly; an uneven setup can cause premature anchor failure.
- Apply a rust‑inhibiting spray to the stainless‑steel components after each use, especially in salty coastal air.
- When possible, position anchors on the windward side of the campsite to reduce sway caused by gusts.
- Carry a spare set of screws and snap hooks; a broken component in the field can compromise safety.
Troubleshooting
Problem: Anchor hook loosens after a few minutes.
Solution: Re‑tighten the screw using a torque wrench set to 8 Nm. If loosening persists, replace the screw with a longer stainless‑steel variant to achieve deeper embedment.
Problem: Hammock sags excessively.
Solution: Reduce the distance between anchors or use a higher‑strength strap with a lower stretch rating. Adjust the angle to 30 degrees to improve tension.
Conclusion
This guide has presented seven comprehensive methods for anchoring a hammock on rocky terrain without relying on trees. By selecting appropriate hardware, preparing the rock surface, and following systematic installation steps, one can create a safe and comfortable hammock experience in even the most challenging environments. The recommended XIEKRAB and HXLPAY products provide reliable, high‑capacity solutions that simplify the process while maintaining durability.
Readers are encouraged to apply these techniques responsibly, always prioritizing safety and environmental stewardship.
Products Mentioned in This Guide
Frequently Asked Questions
What type of straps or ropes are best for anchoring a hammock on rocky terrain?
Use heavy‑duty, load‑rated hammock straps or static climbing ropes rated for at least 500 lb, preferably with a wide, flat webbing to prevent cutting into rock.
Can I use screw eye bolts without drilling into the rock?
Yes, you can use self‑drilling rock‑grade eye bolts that tap into cracks, but for a permanent hold a masonry drill and proper anchor is recommended.
How many anchor points are needed for a safe hammock setup on a rock face?
Two anchor points spaced roughly the hammock’s length apart provide balanced support; a third safety anchor can be added for extra redundancy on steep terrain.
What safety precautions should I take when mounting a hammock on rocks?
Inspect the rock for cracks, use protective gloves, double‑check all knots and carabiner locks, and never exceed the equipment’s load rating.
Is it possible to set up a temporary hammock anchor without permanent hardware?
Yes, you can use sturdy rock‑grade snap hooks or a climbing‑grade sling looped around natural rock features, combined with quick‑release carabiners for a non‑permanent setup.