How to Build a Backyard Hammock Campsite: Step‑by‑Step DIY Guide
Introduction
This guide explains how one can transform a modest backyard into a relaxing hammock campsite that feels like a remote retreat. Readers will learn how to select a suitable location, assemble a freestanding hammock system, and add accessories that enhance comfort and safety. The instructions are written for an intermediate audience that possesses basic tools and a willingness to follow detailed directions. By the end of the guide, one will have a functional campsite ready for weekend naps, stargazing, or family gatherings.
What You’ll Need
- Freestanding hammock with frame – SUNCREAT Double Hammock with Frame
- Measuring tape (at least 10 ft)
- Level or carpenter’s square
- Rubber mallet (optional, for tightening bolts)
- Ground stakes or sandbags (if the soil is loose)
- Outdoor lighting (solar lanterns or string lights)
- Weather‑proof storage box for accessories
Step 1 – Choose the Ideal Spot
The first step is to identify a flat area that receives morning sun and afternoon shade, mimicking a natural campsite environment. One should measure a space of at least 10 ft by 8 ft to accommodate the 12‑ft stand and the 74.8‑inch hammock length without crowding surrounding furniture. Ensure that the ground is level; a level surface prevents the stand from wobbling and reduces stress on the frame joints. If the area contains uneven patches, use a garden rake to smooth the soil or place a compacted wooden platform.
Step 2 – Assemble the Freestanding Stand
The SUNCREAT Double Hammock with Frame includes a 12‑ft powder‑coated steel stand that can be assembled without tools. Begin by laying out all components on the ground to verify that every piece is present. Connect the vertical steel poles to the cross‑bars using the pre‑drilled bolt holes; the bolts are designed to tighten by hand, but a rubber mallet can help seat them firmly. The stand’s heavy‑gauge steel provides stability, allowing one to enjoy the hammock without worrying about tree damage or ground instability.
Step 3 – Adjust Height and Balance Ropes
Once the frame is upright, attach the balance ropes to the O‑shaped steel rings that come with the hammock. The hammock’s design features a curved 55‑inch spreader bar that distributes weight evenly, reducing the chance of flipping. By selecting the appropriate chain section on the stand’s hooks, one can set the hammock height between 3 ft and 5 ft, depending on personal preference and the intended use (e.g., lounging versus sleeping). Adjusting the height also ensures that the user’s feet can touch the ground if desired, which is especially helpful for children.
Step 4 – Secure the Hammock Fabric
The hammock fabric consists of two layers of 100 % quilted polyester with poly‑fiber filling, providing both durability and comfort. Thread the fabric through the balance ropes, making sure the fabric lies flat and the seams are not twisted. The head pillow, stuffed with polyethylene, should be positioned at the narrow end of the hammock to support the neck during extended rests. Because the fabric is non‑fading, it will retain its vibrant color even after months of sun exposure.
Step 5 – Test Load Capacity
Before regular use, it is prudent to test the system with a weight close to the advertised 450‑pound capacity. One can place a sandbag or a weighted backpack on the hammock and observe any movement in the stand or ropes. If the stand shows any wobble, tighten the bolts further and ensure the ground stakes or sandbags are firmly embedded. This step verifies that the combination of the steel frame, curved spreader bar, and handcrafted ropes can safely support two adults or a small family.
Step 6 – Add Comfort and Ambiance
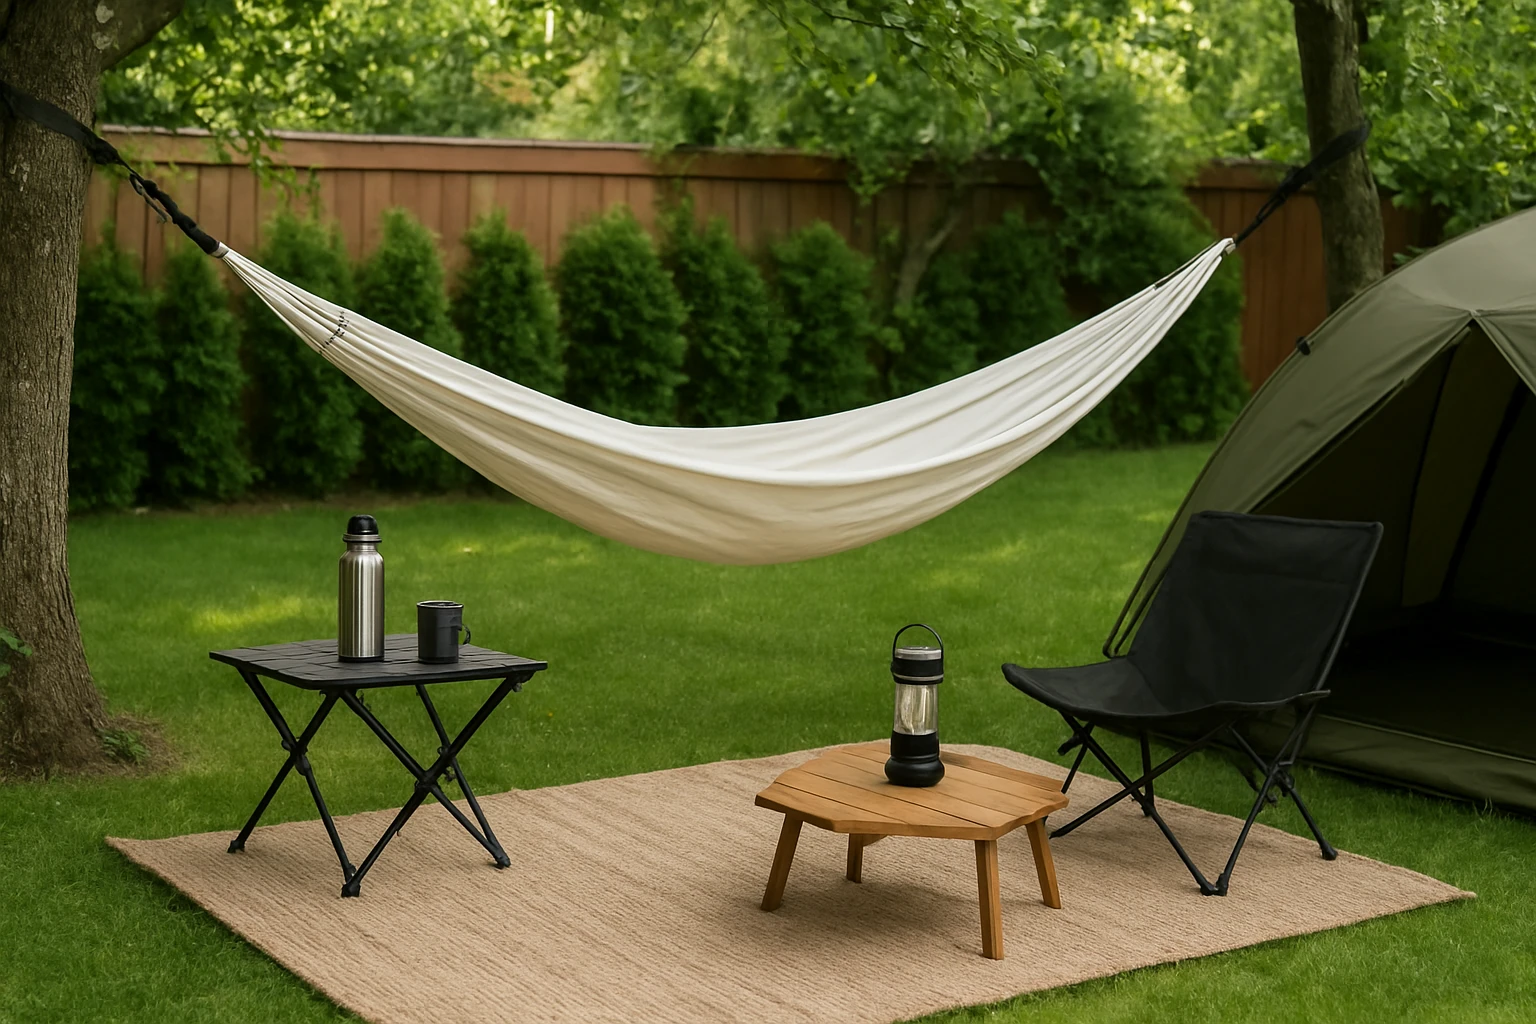
To transform the functional setup into a true campsite, add a few accessories that enhance comfort and atmosphere. A weather‑proof blanket can be draped over the hammock for cooler evenings, while a set of solar lanterns placed around the base of the stand provides gentle illumination without electrical wiring. One may also hang a small portable speaker for background nature sounds, ensuring the volume remains low to preserve the tranquil environment.
Step 7 – Maintain the Hammock System
Regular maintenance extends the lifespan of the hammock campsite. Wipe the fabric with a mild detergent and air‑dry it in the shade to prevent mildew. Inspect the steel frame for rust spots; the powder‑coated finish resists corrosion, but occasional cleaning with a damp cloth is advisable. Tighten any loose bolts after several weeks of use, as vibrations can gradually loosen connections.
Tips & Pro Tips
- Place the stand on a concrete patio if possible; the solid surface eliminates the need for ground stakes.
- When adjusting height, start with the lowest setting and raise incrementally to find the most comfortable position.
- Use a weather‑proof storage box to keep the pillow and extra blankets dry during rain.
- For a rustic look, drape a lightweight canvas tarp over the stand to provide shade and protect the fabric from dew.
- Consider adding a small side table for drinks; a fold‑able camping table works well without cluttering the space.
Troubleshooting
Problem: The hammock sways excessively when a single person lies down.
Solution: Tighten the balance ropes and ensure the spreader bar is centered on the stand. Adding sandbags at the base of the stand can also increase stability.
Problem: The fabric shows signs of fading after several weeks of sun exposure.
Solution: Although the SUNCREAT hammock is designed to resist fading, applying a UV‑protective spray designed for outdoor fabrics can further preserve color.
Conclusion
By following these step‑by‑step instructions, one can create a backyard hammock campsite that rivals a professional glamping site. The guide emphasizes proper placement, careful assembly, and thoughtful accessories to ensure safety, comfort, and aesthetic appeal. With the SUNCREAT Double Hammock with Frame, the project becomes more straightforward because the product offers a sturdy, weather‑resistant frame and a comfortable, non‑fading fabric. One is encouraged to enjoy the new outdoor retreat, share it with friends and family, and adapt the space for future seasonal uses.
Products Mentioned in This Guide
Frequently Asked Questions
What minimum backyard dimensions are required for a freestanding hammock campsite?
A clear area of about 8 ft by 8 ft is enough to accommodate most double hammocks and their frame.
How can I secure the hammock frame on uneven or soft soil?
Use ground stakes or sandbags at each corner of the frame and level it with a carpenter’s square.
Is it possible to set up a hammock without a dedicated frame?
Yes, you can attach a hammock to sturdy trees or posts, but a freestanding frame offers more flexibility and protects trees.
Which accessories enhance comfort and safety for a backyard hammock?
Add a weather‑proof storage box, solar lanterns or string lights, and a pillow or hammock pad for extra cushioning.
How do I protect my hammock from rain and UV damage?
Choose a weather‑proof hammock cover and store the hammock in a sealed box when not in use.