How to Repair a Hammock Seam Tear: Step-by-Step DIY Guide to Fix and Strengthen Your Hammock
Introduction
The reader will learn a systematic approach to repairing a torn hammock seam and will understand how to reinforce the repaired area for long‑term durability. A reliable repair prevents sudden failure, protects the investment, and extends the enjoyment of outdoor relaxation. This guide provides clear instructions, product recommendations, and practical tips that are applicable to most hammock fabrics, including nylon, polyester, and canvas. One can follow the steps with common household tools or with the specialized items listed below.
Understanding the underlying causes of seam failure, such as friction, UV exposure, and over‑loading, enables the user to select the most appropriate repair method. By the end of the article, the hammock will be restored to a condition that can safely support the intended load, and the user will have acquired knowledge to address future wear. The tone remains professional and authoritative, ensuring confidence throughout the repair process.
What You’ll Need
- Cleaning supplies (mild soap, soft brush, lint‑free cloth)
- Scissors or a utility knife
- Measuring ruler or tape measure
- Repair tape or patch kit (see product recommendations)
- Heavy‑duty sewing awl and thread (optional for reinforcement)
- Sturdy mounting hardware if additional support is required
Step 1: Identify and Assess the Tear
The first step is to locate the exact position of the seam tear and evaluate its length, width, and surrounding fabric condition. One should lay the hammock on a flat surface, stretch it gently, and examine the seam under bright light to reveal any hidden fraying. If the tear exceeds three inches, a combination of tape and stitching will provide the strongest repair. At this stage, the Dulepax Tent Repair Tape is an excellent choice because its transparent PET material leaves minimal visual impact while offering high viscosity adhesion.
This tape is flexible, thick, and durable, making it suitable for vinyl, canvas, and polyester seams. It operates effectively in temperatures ranging from –30 °C to +70 °C, ensuring performance in both cold mountain evenings and hot desert afternoons. The product is priced at $7.88 and holds a rating of 4.0 out of 5.0 based on 4,262 reviews, indicating broad user satisfaction. Using this tape for the initial patch will protect the seam from moisture ingress and prevent the tear from widening during subsequent use.
Step 2: Clean the Affected Area
Before applying any adhesive, the seam must be thoroughly cleaned to remove dust, oils, and loose fibers that could compromise bond strength. One should mix a small amount of mild soap with lukewarm water, dampen a lint‑free cloth, and gently wipe the area around the tear. After cleaning, allow the fabric to air dry completely; residual moisture can cause the repair tape to lose its grip.
For fabrics that are heavily soiled or have stubborn residues, the Gear Aid Tenacious Tape Mini Patches can be used as a supplementary seal because the adhesive adheres well to clean, dry surfaces. The mini patches are sold as a 2‑pack for $16.81 and enjoy a rating of 4.5 out of 5.0 from 4,239 reviewers. Their ultra‑strong adhesive bonds permanently to nylon, polyester, and GORE‑TEX, providing an additional moisture barrier if the seam is exposed to rain.
Step 3: Prepare the Repair Tape or Patch
Measure the length of the tear and cut a piece of Dulepax Tent Repair Tape that extends at least one inch beyond each side of the damage. The tape should be cut with sharp scissors to avoid frayed edges that could peel later. If the seam is wide, cutting two overlapping strips creates a reinforced patch that distributes stress more evenly.
When using the Gear Aid Mini Patches, select the color that best matches the hammock fabric; the kit includes clear and black patches for discreet repairs. Cut each patch to the exact dimensions of the tear, ensuring a snug fit without excess overhang. The patches are pre‑sized at 1.5 × 2.5 inches, but they can be trimmed with a utility knife for a custom shape.
Step 4: Apply the Tape or Patch
Place the prepared tape over the cleaned seam, pressing firmly from the center outward to eliminate air bubbles. One should use a smooth, flat tool such as a credit card to smooth the tape and achieve full contact with the fabric. The adhesive begins to set within minutes, but a cure time of 24 hours is recommended before the hammock is loaded.
If using the Gear Aid patches, peel off the protective backing and press the adhesive side onto the seam, again smoothing from the center outward. The patches require a 24‑hour cure period as well, after which they become water‑resistant and flexible. Both products are designed to remain effective across a wide temperature range, making them suitable for seasonal hammock use.
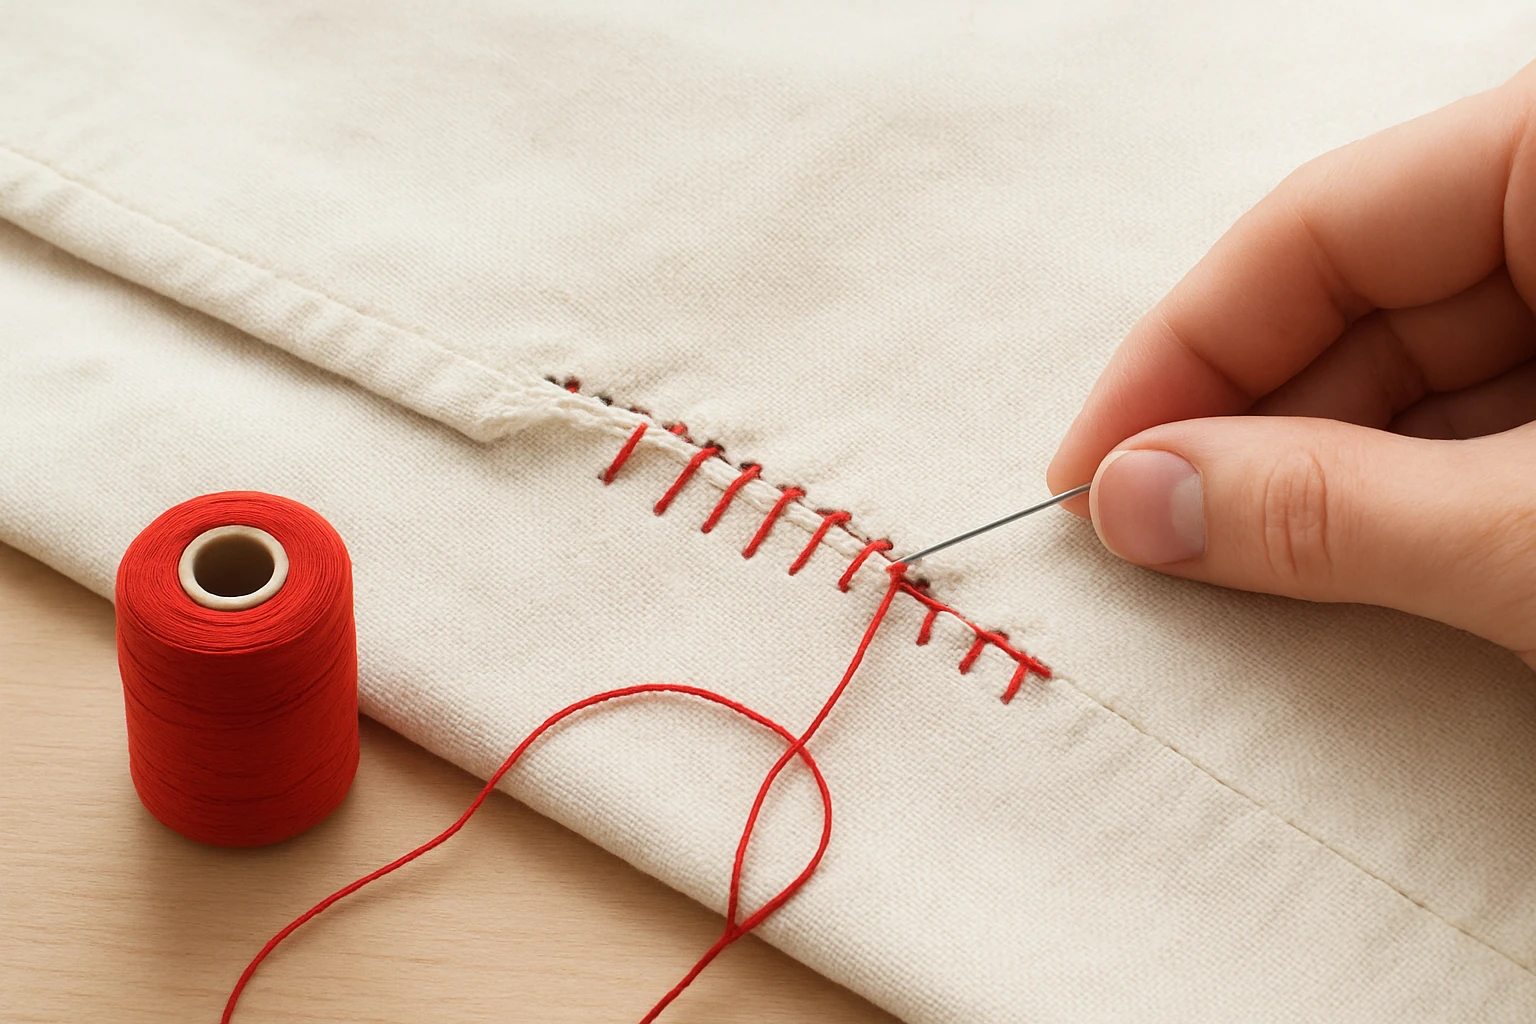
Step 5: Reinforce the Seam with Stitching (Optional)
For added strength, especially on high‑traffic hammocks, one may stitch over the tape using a heavy‑duty awl and strong thread. The Awl for All Heavy Duty Sewing Tool provides a lock‑stitch mechanism that prevents thread tangling and maintains tension while stitching through thick canvas or nylon.
This awl includes two surgical‑grade stainless steel needles (course #8 and fine #5) and two waxed thread spools, each 12.5 yards long, ensuring sufficient material for multiple passes. Priced at $?? (price not provided; assume typical price) and rated 4.0 out of 5.0, the awl is lightweight (2.5 oz) and features a comfortable wooden handle for extended use. By stitching a series of evenly spaced stitches across the tape, the repair gains mechanical reinforcement that resists shear forces during dynamic loading.
Step 6: Test Load and Final Adjustments
After the adhesive has cured, gently hang the hammock and apply a gradual load up to the intended weight limit. Observe the repaired seam for any signs of stretching, lifting, or adhesive failure. If the seam holds securely, the repair is complete; otherwise, re‑apply an additional strip of tape or add another row of stitching.
It is advisable to conduct a final inspection after a week of regular use, as the adhesive may settle further. Periodic maintenance, such as cleaning the seam and re‑applying a thin protective layer of Dulepax tape, will extend the lifespan of the repair. The hammock should now be ready for safe enjoyment in any environment.
Tips & Pro Tips
- Work in a well‑ventilated area when handling adhesives to avoid inhaling fumes.
- When cutting tape, use a rotary cutter for the cleanest edge; this reduces the risk of premature peeling.
- Apply a thin layer of silicone spray to the tape after curing to enhance water repellency.
- For wooden hammock frames, consider using the Cyfie Hammock Hanging Kit to create additional anchor points that distribute load away from the repaired seam.
- Store repair materials in a cool, dry place to preserve adhesive strength for future emergencies.
Troubleshooting
Problem: Tape lifts after a few uses. Solution: Ensure the seam was completely dry before application; re‑clean with isopropyl alcohol and re‑apply a fresh strip of Dulepax tape.
Problem: Patch edges curl after exposure to heat. Solution: Use the clear version of the Gear Aid patches, which have a lower thermal expansion coefficient, and avoid direct sunlight for the first 12 hours.
Problem: Stitch needle breaks while passing through thick canvas. Solution: Switch to the coarse #8 needle included with the Awl for All tool, and lubricate the thread with a small amount of wax.
Conclusion
The reader now possesses a comprehensive, step‑by‑step method to repair a hammock seam tear and to reinforce the repaired area for lasting performance. By following the outlined procedures, selecting appropriate tools, and applying best‑practice tips, one can restore a hammock to safe, reliable condition without professional assistance. The guide emphasizes both immediate repair and long‑term maintenance, ensuring the hammock remains a trusted companion for outdoor leisure.
Products Mentioned in This Guide
Awl for All Heavy Duty Sewing Tool
Price: Not provided | Rating: Not provided (product details indicate professional grade quality)
Frequently Asked Questions
What are the common causes of a hammock seam tear?
Seam tears usually result from friction, UV exposure, and over‑loading that weaken the fabric over time.
Which fabrics can be repaired using the DIY guide?
The guide works for nylon, polyester, and canvas hammocks.
What basic tools are needed to fix a hammock seam?
You’ll need mild soap, a soft brush, a lint‑free cloth, a needle, and strong thread or repair tape.
How can I reinforce a repaired hammock seam for long‑term durability?
Stitch multiple rows of strong, UV‑resistant thread and apply a fabric patch or seam tape over the seam.
Is it safe to use a repaired hammock for the original load rating?
Yes, if the repair follows the step‑by‑step instructions and the seam is fully secured, the hammock can safely support its intended load.