How to Sew a DIY Underquilt: Free Step-by-Step Sewing Pattern for Warm, Lightweight Hammock Insulation
One will discover a comprehensive method for creating a custom underquilt that enhances hammock comfort during cool evenings. The guide explains material selection, pattern drafting, and assembly techniques that result in a breathable yet insulating layer. By following each instruction, one can produce a professional‑grade underquilt without purchasing expensive pre‑made products. The resulting underquilt will trap warm air while remaining lightweight enough for backpacking adventures.
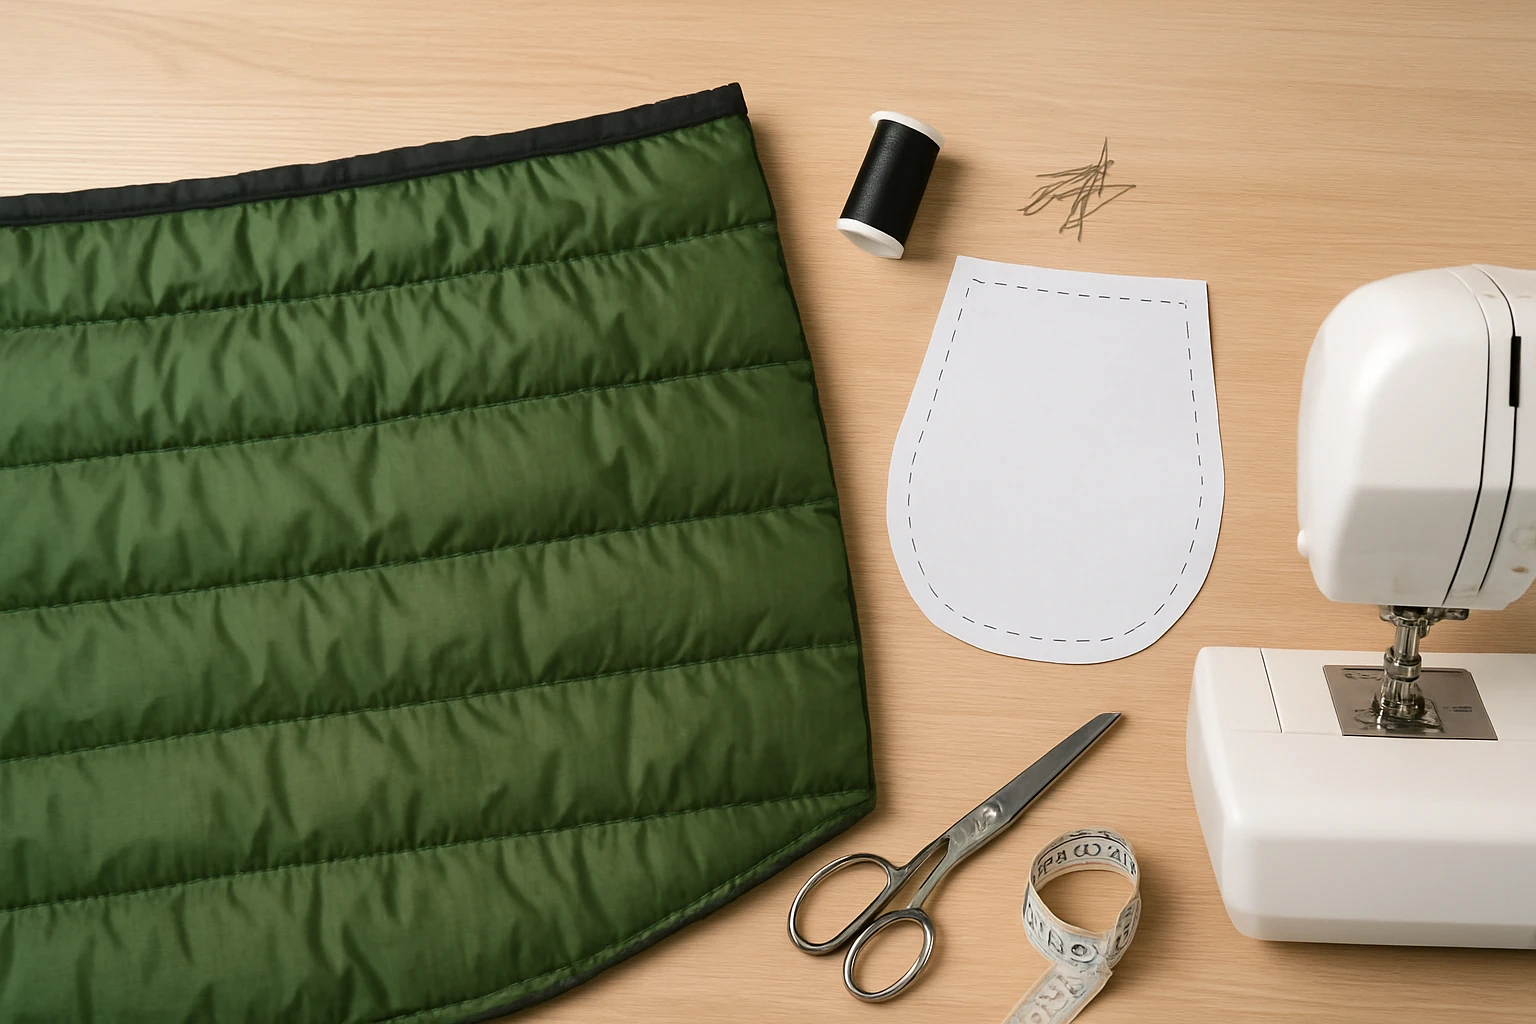
What You'll Need
- Lightweight ripstop nylon or polyester fabric (approximately 1.5 mm thickness)
- Thread suitable for synthetic fabrics – recommended HDST-HOME Sewing Thread Set
- Basic sewing tools – recommended SINGER Sewing Kit
- Measuring tape, fabric scissors, pins, and a rotary cutter
- Free underquilt pattern (downloadable PDF)
The fabric choice determines durability and wind resistance; ripstop nylon offers excellent tear resistance while remaining thin. One should select a thread that matches the fabric’s synthetic composition to avoid fraying. The HDST‑HOME Sewing Thread Set provides 36 vibrant colors, each spool containing 400 yards of polyester thread, ensuring ample supply for multiple seams. The SINGER Sewing Kit supplies essential notions and a portable pouch, making it ideal for on‑the‑go adjustments.
Step 1 – Prepare the Pattern and Fabric
Begin by printing the free underquilt pattern and laying it on a flat surface. One must verify that the pattern dimensions correspond to the hammock’s width and length, adding a 2‑inch seam allowance around each edge. Cut the fabric using a rotary cutter for clean edges; a 1.5 mm ripstop sheet typically yields two pieces for the top and bottom panels. After cutting, press the fabric with a low‑heat iron to remove any creases that could affect seam alignment.
The HDST‑HOME Sewing Thread Set is useful in this stage because the bright color options enable one to select a contrasting thread that highlights seam lines during fitting. The thread’s polyester composition resists melting under the iron's heat, reducing the risk of accidental damage.
Step 2 – Assemble the Core Structure
One should align the two fabric panels right sides together, matching the pattern's edge markings. Secure the edges with pins spaced every 2 inches to prevent shifting while sewing. Using a sewing machine capable of handling synthetic threads, stitch a straight seam along the outer perimeter, leaving a 4‑inch opening for inserting insulation material.
During this step, the SINGER Sewing Kit proves valuable. Its mini scissors allow precise trimming of excess fabric, while the needle threader speeds up the process of loading the HDST‑HOME thread onto the machine. The kit also includes a 25‑inch measuring tape, ensuring that seam allowances remain consistent throughout the construction.
Step 3 – Insert Insulation and Close the Seam
Choose a lightweight insulation such as down‑alternative fill or recycled polyester batting. One should distribute the fill evenly within the cavity, avoiding clumps that could create cold spots. After the fill is in place, close the opening with a hand‑stitched slip stitch to maintain a smooth exterior surface.
Because the HDST‑HOME thread is pre‑wound on sturdy plastic bobbins, one can quickly switch to a contrasting color for the hand‑stitched closure without re‑winding. The thread’s resistance to fraying ensures that the slip stitch remains durable during repeated use.
Step 4 – Add Attachment Loops and Reinforcements
To secure the underquilt to the hammock, create four reinforced loops at each corner using a double‑folded fabric strip. Stitch each loop with a strong backstitch, reinforcing with a second row of stitches for added strength. One may also add optional side straps for extra stability in windy conditions.
The SINGER Sewing Kit includes three hand needles of varying sizes, allowing one to select the appropriate needle for heavy‑weight loops. The kit's safety pins can be used temporarily to hold loop positions while stitching, preventing fabric distortion.
Step 5 – Final Press and Quality Check
After completing all seams, press the underquilt a second time to set the stitches and smooth the fabric surface. Conduct a thorough inspection for any loose threads, missed stitches, or uneven fill distribution. One should test the underquilt by draping it over the hammock and checking for proper fit and coverage.
Using the HDST‑HOME thread in a contrasting shade makes any stray threads easily visible during the quality check. The bright colors also allow one to identify seam lines quickly, ensuring that the final product meets professional standards.
Tips & Pro Tips
- Choose a thread color that contrasts with the fabric to make seam inspection straightforward.
- When working with ripstop fabric, use a ballpoint needle to prevent snagging the reinforced threads.
- For added warmth, consider a double‑layer design with a thin reflective film between the layers.
- Store the finished underquilt in a compression sack to maintain its shape and reduce bulk during travel.
Troubleshooting
Problem: Thread breaks frequently during sewing.
Solution: Verify that the thread tension is correctly set for polyester; use the HDST‑HOME thread, which is designed to resist fraying and breaking.
Problem: Insulation shifts after a few uses.
Solution: Reinforce the interior cavity with a second, finer netting layer to keep the fill evenly distributed.
Conclusion
One now possesses the knowledge to create a custom underquilt that provides warmth without sacrificing weight. By following the free pattern, selecting appropriate materials, and utilizing recommended tools, one can achieve a professional finish suitable for both casual camping and rugged expeditions. The guide encourages further experimentation with colors and insulation types to personalize the underquilt for individual preferences.
Products Mentioned in This Guide
Frequently Asked Questions
What fabric is best for a DIY hammock underquilt?
Lightweight ripstop nylon or polyester around 1.5 mm thick provides durability and good insulation while staying packable.
Do I need special thread for sewing the underquilt?
Use a high‑strength synthetic thread such as the HDST‑HOME Sewing Thread Set to match the fabric and prevent breakage.
Where can I get the free underquilt pattern?
Download the printable PDF pattern from the article’s link; it includes measurements and seam allowances.
How do I ensure the underquilt stays breathable yet warm?
Stitch a lightweight fabric with a tight but not overly dense seam, and leave small ventilation gaps near the edges to trap warm air without overheating.
Can I wash the finished underquilt?
Yes, hand‑wash or use a gentle cycle with mild detergent, then air‑dry to preserve the fabric’s loft and water‑repellent coating.